

Setting Up a Schedule
You configure the schedule from the trigger panel on the right side of the agent editor. The screenshot below shows a custom schedule being set up — choose a frequency, set the time, and pick the days the agent should run.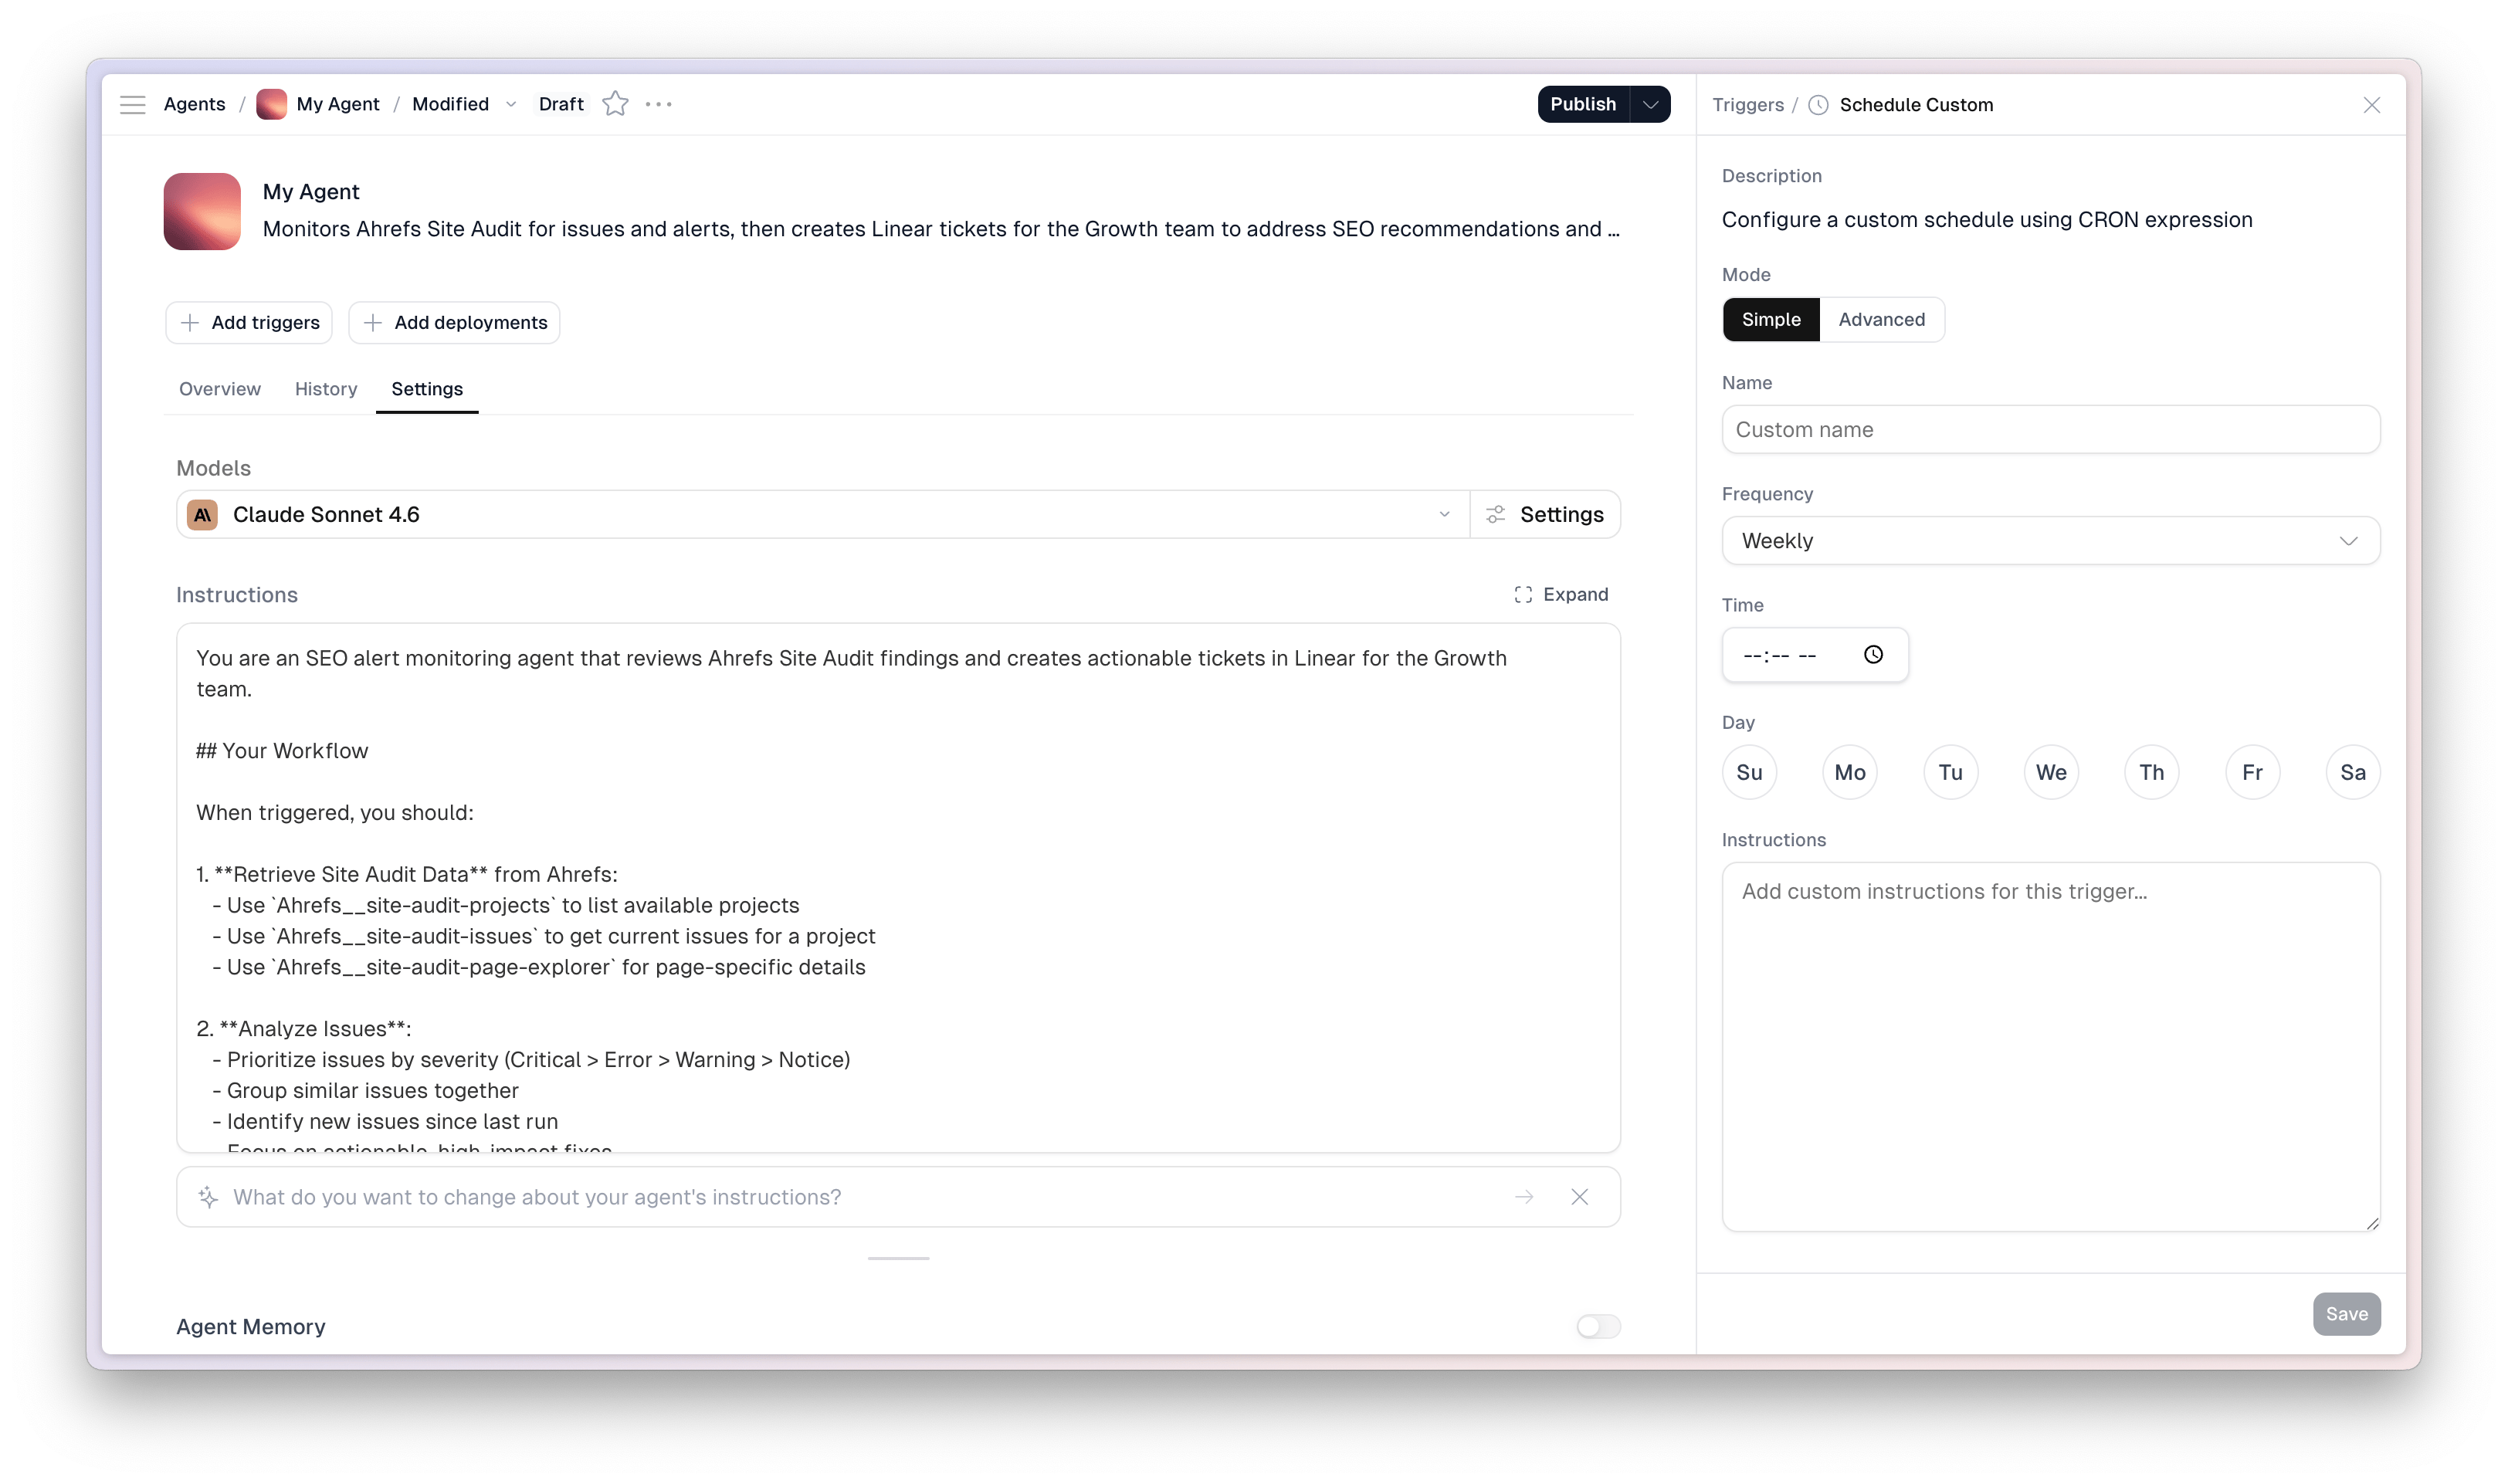
1
Open the Triggers tab
Open your agent in Scout Studio and click the Add Trigger button. In the trigger panel, select Schedule as the trigger type.
2
Choose a schedule type
Select from Daily, Weekly, or Custom (cron expression). See the options below for details on each type and example cron patterns.
3
Configure timing and inputs
Set the time, timezone, and any input values the agent needs to run. Inputs are passed to the agent on every scheduled execution — if your agent doesn’t need dynamic inputs, leave this section empty.
4
Save and enable
Save your settings and enable the schedule. Your agent will begin running automatically at the times you specified. Check the Logs tab after the first run to confirm everything is working.
Schedule Types
Daily
Run your agent once per day at a specific time. Select your timezone so the schedule reflects your team’s working hours rather than UTC. Best for: daily summaries, morning prep briefings, overnight data processing.Weekly
Run your agent on specific days of the week at a set time. You can select one or multiple days — for example, Monday and Thursday, or just Friday for an end-of-week wrap-up. Best for: weekly reports, periodic reviews, recurring team briefings.Custom Cron
Use cron syntax for anything more advanced — every four hours, twice a day, the first Monday of the month, and so on.Example Scheduled Agents
Morning Sales Briefing
Schedule:0 8 * * 1-5 — weekdays at 8 a.m.
Instructions:
Weekly Competitor Monitor
Schedule:0 7 * * 1 — every Monday at 7 a.m.
Instructions:
/reports/competitors/YYYY-MM-DD.md and email to leadership
Nightly CRM Hygiene
Schedule:0 2 * * * — every night at 2 a.m.
Instructions:
Hourly System Check
Schedule:0 * * * * — every hour
Instructions:
Managing Schedules
Edit a schedule
Open your agent, go to the Triggers tab, and update any field — timing, frequency, inputs, or timezone. Changes take effect immediately after you save.Pause a schedule
Toggle the schedule off in the Triggers tab to stop it temporarily. Your configuration is preserved so you can re-enable it any time.Delete a schedule
Remove the schedule entirely from the Triggers tab. The agent continues to work normally and can still be triggered manually or via other trigger types.Monitoring Scheduled Runs
Open the Logs tab on your agent to see a full history of scheduled executions. Each log entry includes:- When the run started and finished
- The inputs passed to the agent
- Every tool call, in order
- The output or response delivered
- Success or failure status with error details if applicable
After setting up a new schedule, check the Logs tab for the first two or three runs to confirm the agent is producing the expected output. Small instruction adjustments early on save a lot of time later.
Agent Scheduling vs. Workflow Scheduling
Both agents and workflows support scheduling, but they’re designed for different scenarios. Use agent scheduling when:- The task requires judgment, adaptation, or handling of unexpected data
- You want to configure the schedule directly on the agent without building a workflow
- The agent should decide its own approach based on what it finds
- The task is deterministic — every step is known in advance
- You need precise control over the order of operations
- The same pipeline runs identically every time with no branching logic