

Open the Roles page
In Scout Studio, open the workspace switcher and choose Settings, then choose Roles.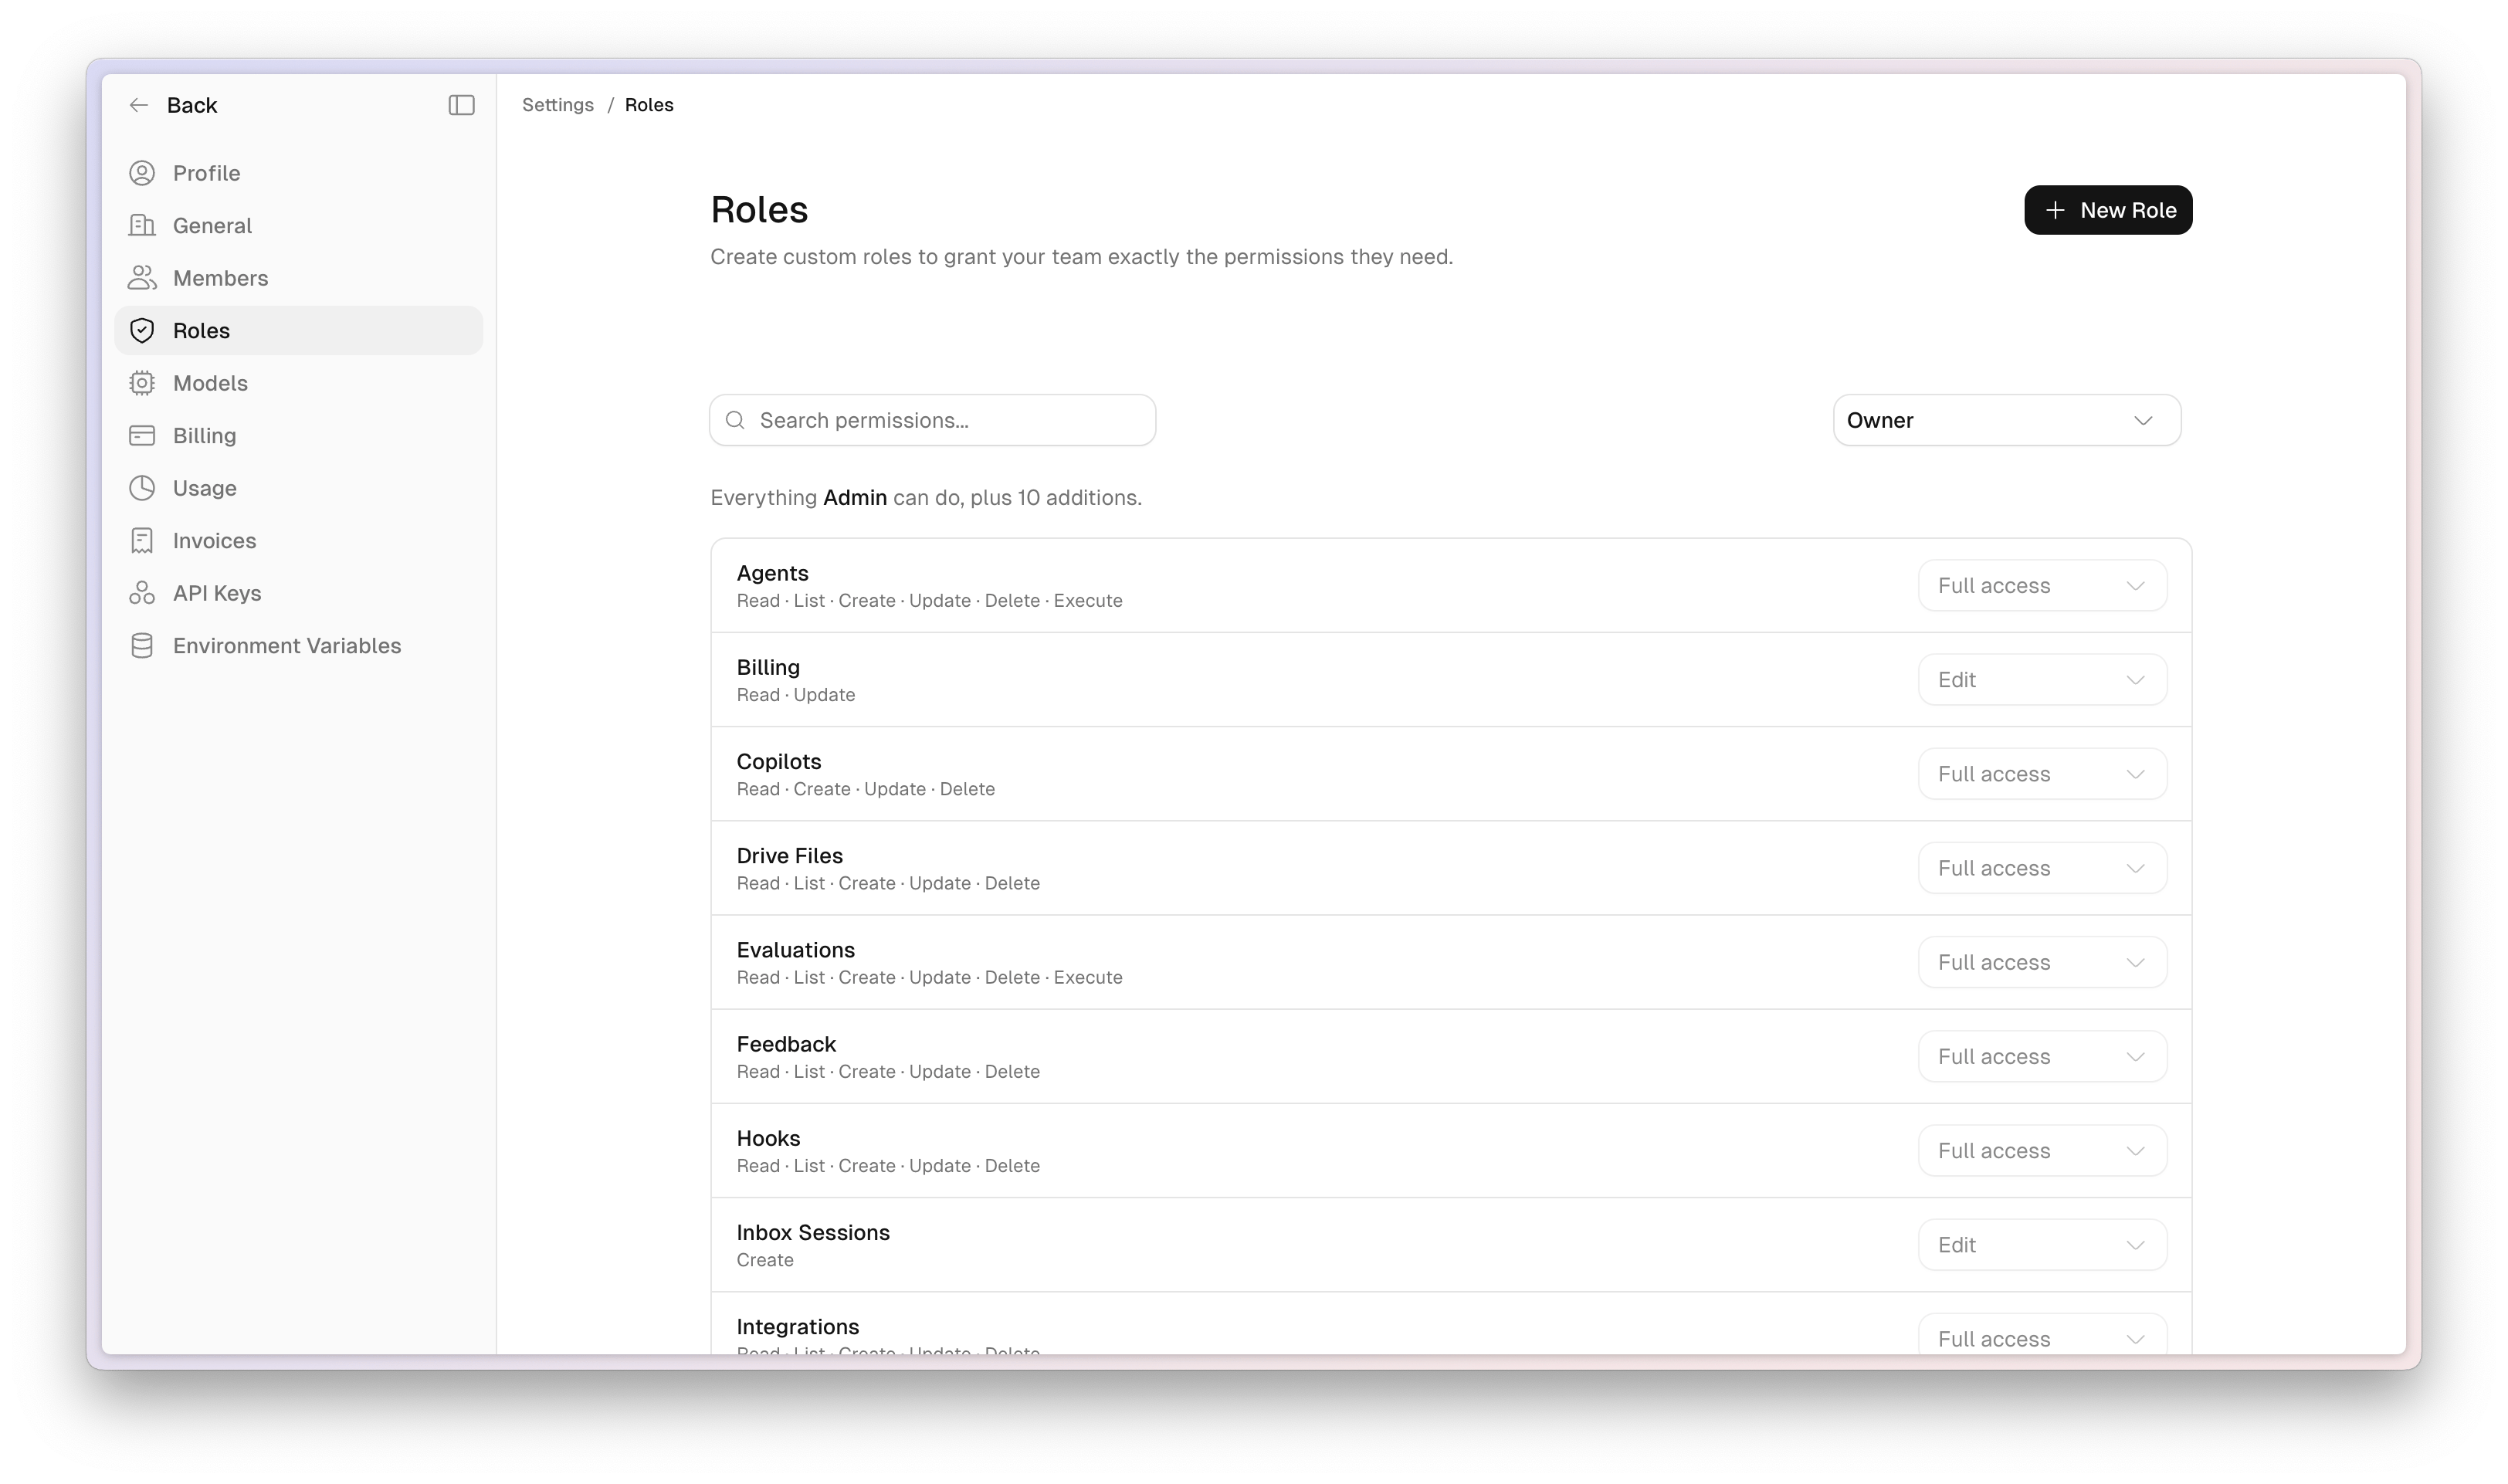
Owners can create, edit, and delete custom roles. Admins can open the same page and review every role, but cannot change them. If you don’t see Roles in Settings, ask an Admin or Owner to review access for you.
System roles
You cannot edit or delete the four system roles. Each role includes everything the role below it can do, plus more.Create a custom role
Only an Owner can create a custom role. Custom roles do not inherit from a system role.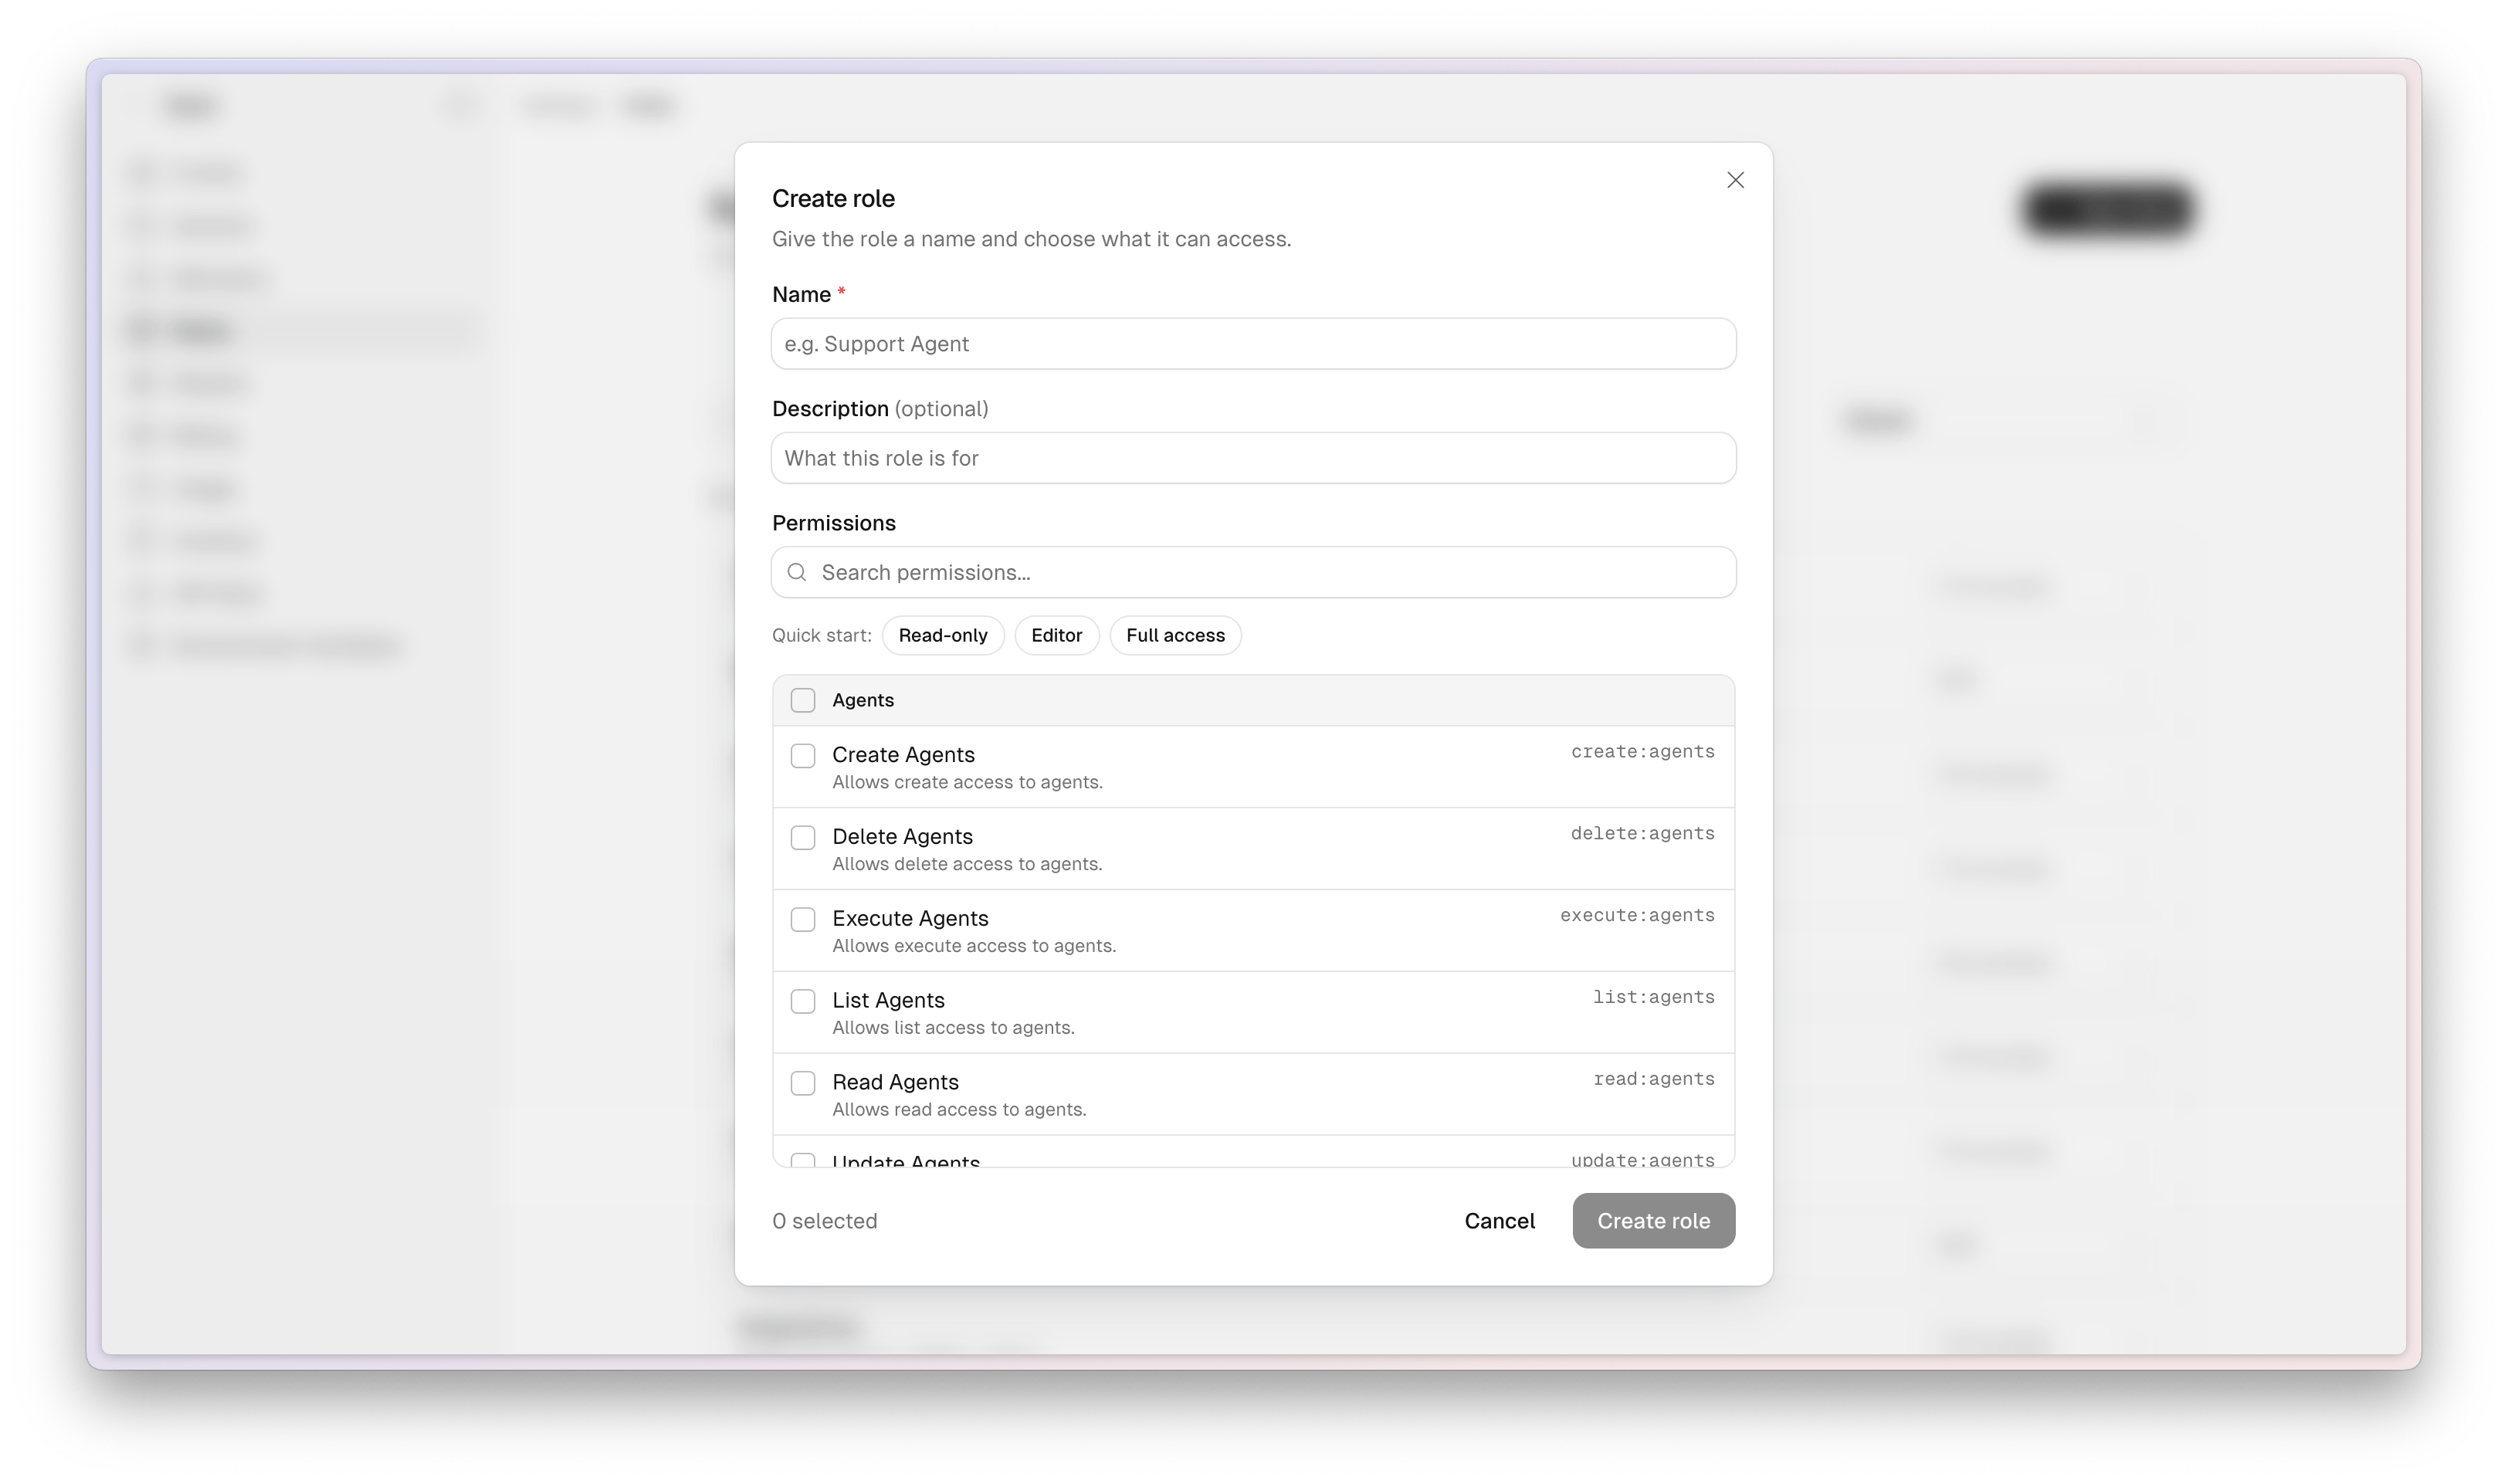
1
Open Roles settings
Open the workspace switcher, choose Settings, then choose Roles.
2
Start a new role
Click New Role. The Create role dialog opens.
3
Name the role
Enter a Name (required), for example
Support Agent. Add an optional Description.4
Choose permissions
Use a Quick start chip (Read-only, Editor, or Full access) to apply a starting set, then check or uncheck individual permissions. Search to find a resource. The footer shows how many permissions are selected.
5
Create the role
Click Create role. The button stays disabled until the role has a name and at least one permission. The new role appears in the role dropdown and is ready to assign on Members.
Permission levels
For each resource, choose a level. Switch to Custom if you need to pick exact actions.
On the Roles page, Owners can change these levels inline for a custom role. Scout saves after a short pause and shows Changes saved. System roles stay read-only.
To rename a custom role or change its permissions in the dialog, open the ⋯ menu and choose Edit role.
Delete a custom role
Open ⋯ on a custom role and choose Delete role. Confirm in the dialog. Members still assigned that role lose the permissions it granted. This cannot be undone. If they still need access, assign a different role on Settings → Members first.Assign roles to members
Owners and Admins assign roles from Settings → Members. You can set a role when you invite someone, and you can change it later for an existing member or a pending invite.Invite someone with a role
1
Open Members
Open the workspace switcher, choose Settings, then choose Members.
2
Add a member
Click Add Member.
3
Choose a role
Select the system or custom role they should receive.
4
Send the invite
Enter their email and send the invitation. They join with that role when they accept.
Change a member or invite role
On Settings → Members, open the actions menu on a person or pending invite and choose Edit role. Pick the new role and save. You cannot change your own role. Ask another Admin or Owner to update it. You also cannot remove or demote the last Owner in the workspace.Who can do what on Roles and Members
Troubleshooting
Next steps
API Keys
Create credentials for integrations and pipelines. Admins and Owners manage keys.
Model Management
Owners control which models the workspace can use.
Billing
Owners manage plan and usage billing.