- Connection Methods
- Quick Connect Setup
- Custom OAuth App Setup
- Prerequisites
- Verify the Connection
- Available Capabilities
- Use Cases
- Best Practices
- Security
- Configuration
- Usage
- Maintenance
- Troubleshooting
- ”You don’t have permission to create Connected Apps”
- ”Invalid client credentials”
- ”Redirect URI mismatch”
- ”User hasn’t approved this app”
- ”Authentication failure”
- ”Token expired”
- ”Insufficient privileges”
- ”API limit exceeded”
- Sandbox Connection Issues
- Advanced Configuration
- Custom Permissions Profile
- Multiple Environment Connections
- Monitoring and Logging
- Managing Connected Apps
- Installing Connected Apps
- Next Steps
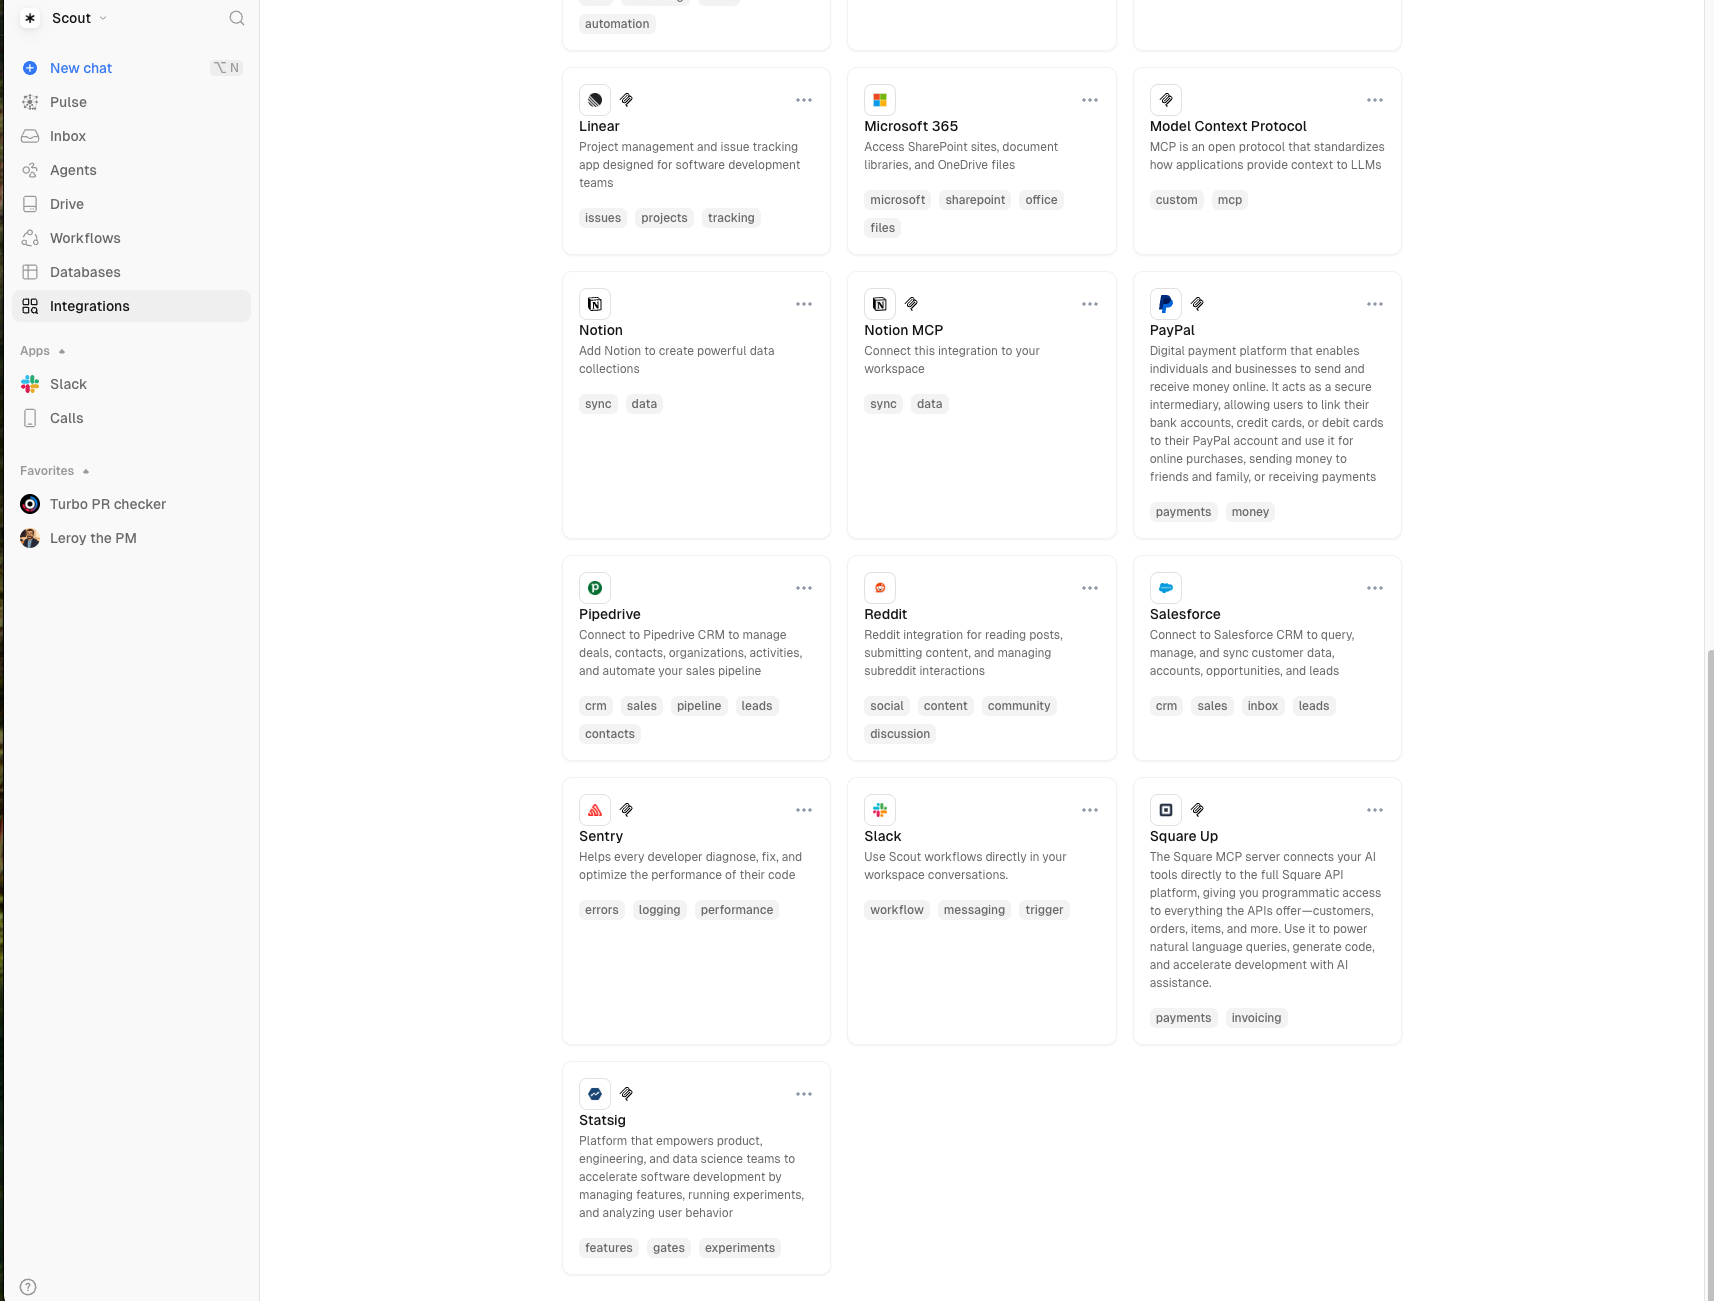
Salesforce Integration
Scout’s Salesforce integration allows you to interact with your Salesforce CRM directly from Scout, enabling automated data access, SOQL queries, and record management across both Production and Sandbox environments.
Connection Methods
Choose the method that best fits your needs:
Quick Connect (Recommended) - Use Scout’s pre-configured OAuth app. No Salesforce setup required. Best for quick testing, users without admin access, and standard use cases.
Custom OAuth App - Create your own Salesforce Connected App. Best for enterprise deployments, custom security requirements, and dedicated integration monitoring.
Quick Connect Setup
The fastest way to connect - no Salesforce configuration needed!
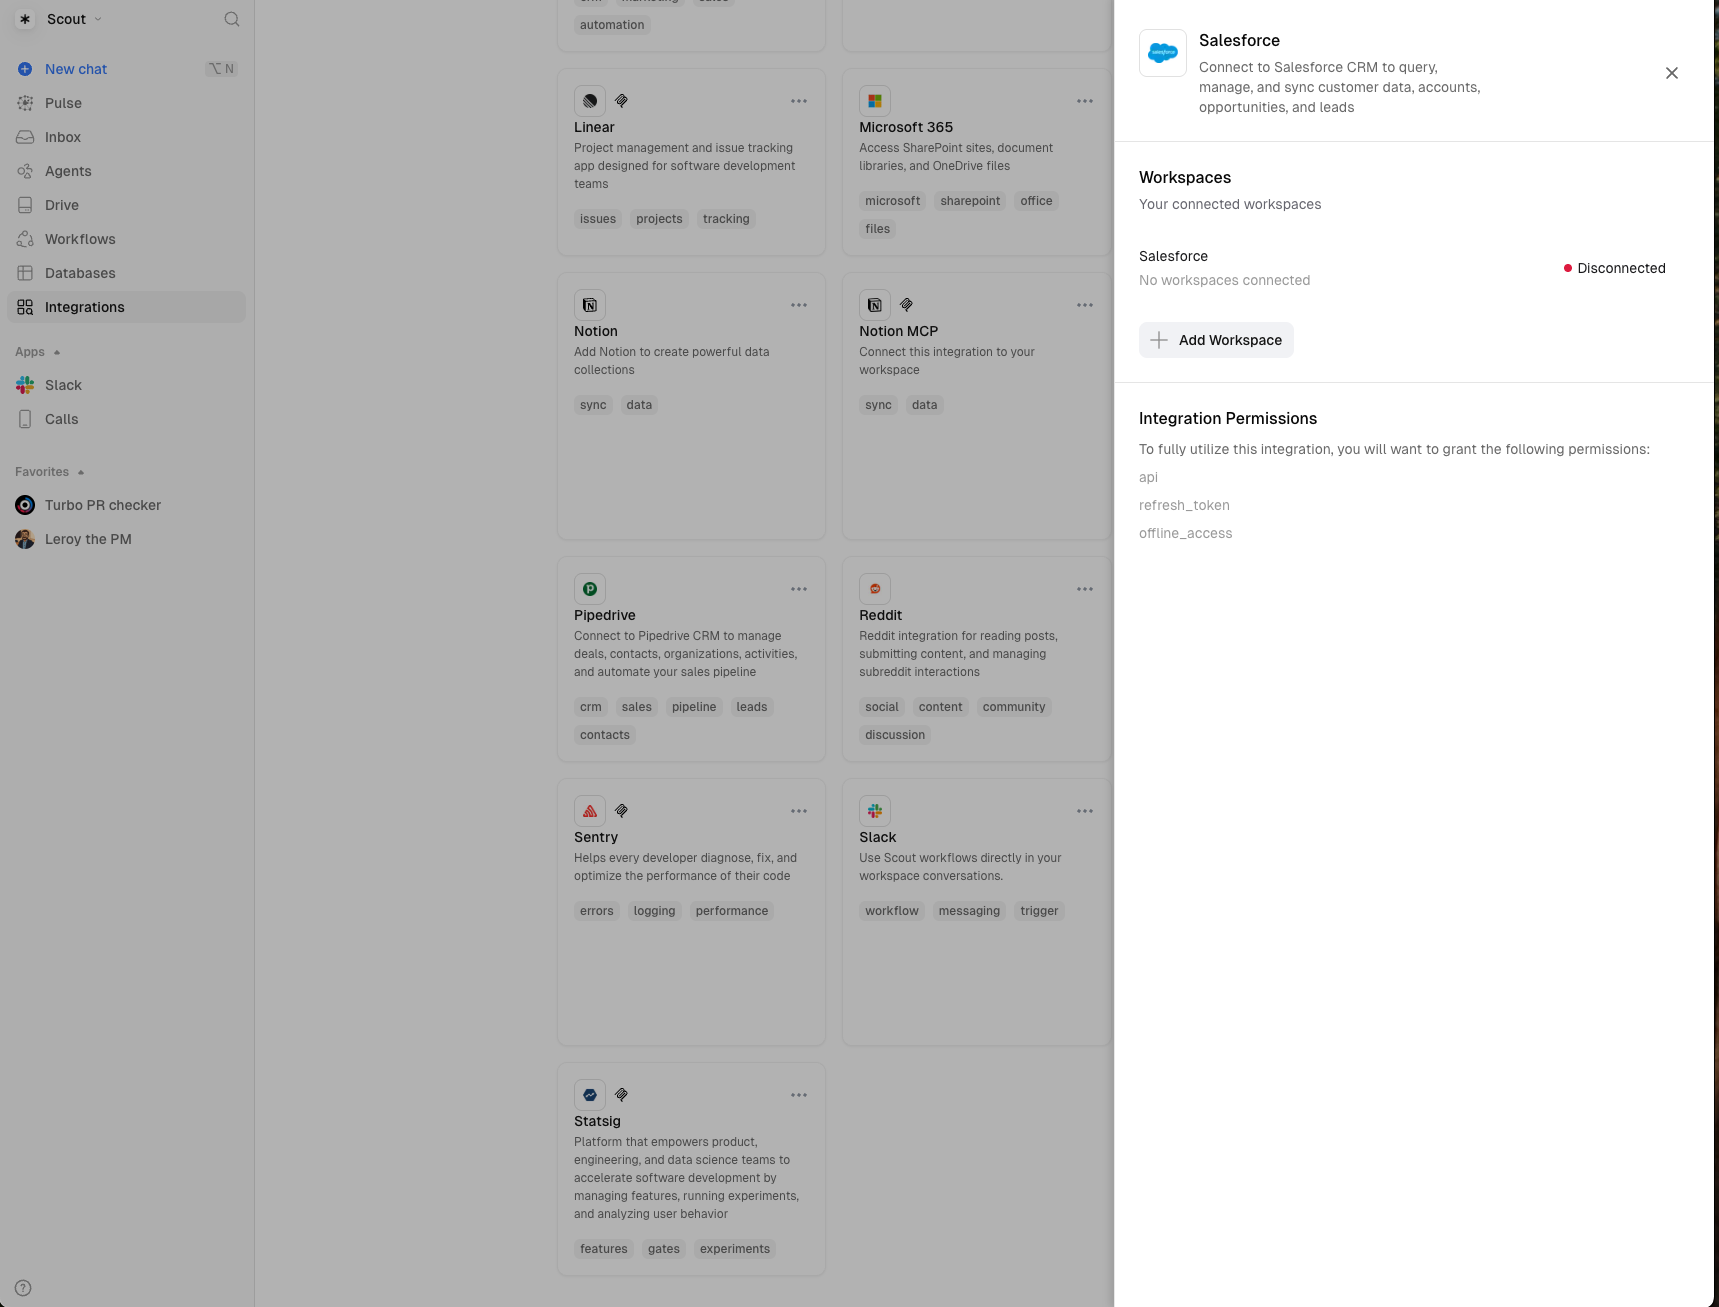
Navigate to Integrations
- Go to https://studio.scoutos.com/integrations
- Find and click the Salesforce integration card
- The Salesforce detail panel will open on the right side
Connect with OAuth
- Click Connect with OAuth button
- Select your environment:
- Production - For live Salesforce instance (login.salesforce.com)
- Sandbox - For test/development instance (test.salesforce.com)
Custom OAuth App Setup
For enterprise deployments requiring custom credentials.
Prerequisites
Required Salesforce Editions:
- Available in: Group, Essentials, Professional, Enterprise, Performance, Unlimited, and Developer Editions
- Works in both Salesforce Classic and Lightning Experience
User Permissions Required: To create a Connected App, you need one of the following:
Customize ApplicationANDModify All Data, ORCustomize ApplicationANDManage Connected Apps
If you don’t have these permissions, contact your Salesforce administrator. You can also sign up for a free Salesforce Developer Edition which gives you full admin access.
Enable Connected App Creation
Before creating your first Connected App, ensure this setting is enabled:
- From Setup, enter External Client Apps in Quick Find
- Select External Client App Settings
- Turn on Allow creation of connected apps
This step is only needed once per Salesforce org. If you’ve created Connected Apps before, this is already enabled.
Create Connected App in Salesforce
- Log in to Salesforce and click the gear icon → Setup
- In Quick Find, search for App Manager
- Click New Connected App
Configure Basic Information
Fill in the required and optional fields:
Required Fields:
- Connected App Name:
Scout CRM Integration(or your preferred name)- Must be unique within your org
- Displays in App Manager and on App Launcher tile
- API Name: Auto-populated from the name (letters, numbers, and underscores only)
- Contact Email: Your email address (used by Salesforce for support contact)
Optional Fields:
- Contact Phone: Your phone number for Salesforce support contact
- Logo Image URL: HTTPS URL to your logo (GIF, JPG, or PNG, preferably under 20KB)
- Logo displays on App Launcher tile and OAuth consent page
- Salesforce generates a default logo from app initials if not provided
- Info URL: Web page with more information about your app
- Description: Up to 256 characters (displays on App Launcher tile)
Enable OAuth Settings
-
Check Enable OAuth Settings
-
Set Callback URL:
https://studio.scoutos.com/oauth/salesforce/success -
Add Selected OAuth Scopes (select from Available OAuth Scopes and click Add arrow):
Full access (full)Access the identity URL service (id, profile, email, address, phone)Manage user data via APIs (api)Manage user data via Web browsers (web)Perform requests at any time (refresh_token, offline_access)
-
Configure Flow Enablement:
- Check Enable Client Credentials Flow
- Check Enable Authorization Code and Credentials Flow
-
Configure Security Settings:
- Check Require Secret for Web Server Flow
- Check Require Secret for Refresh Token Flow
- Check Require Proof Key for Code Exchange (PKCE) extension for Supported Authorization Flows
-
Click Save then Continue
The callback URL must match exactly. Scout requires these specific OAuth scopes and security settings to enable full API access, automatic token refresh, and secure authentication flows.
Copy Credentials
- From the Connected App detail page, copy your Consumer Key (Client ID)
- Click Click to reveal and copy your Consumer Secret (Client Secret)
- Keep these credentials secure
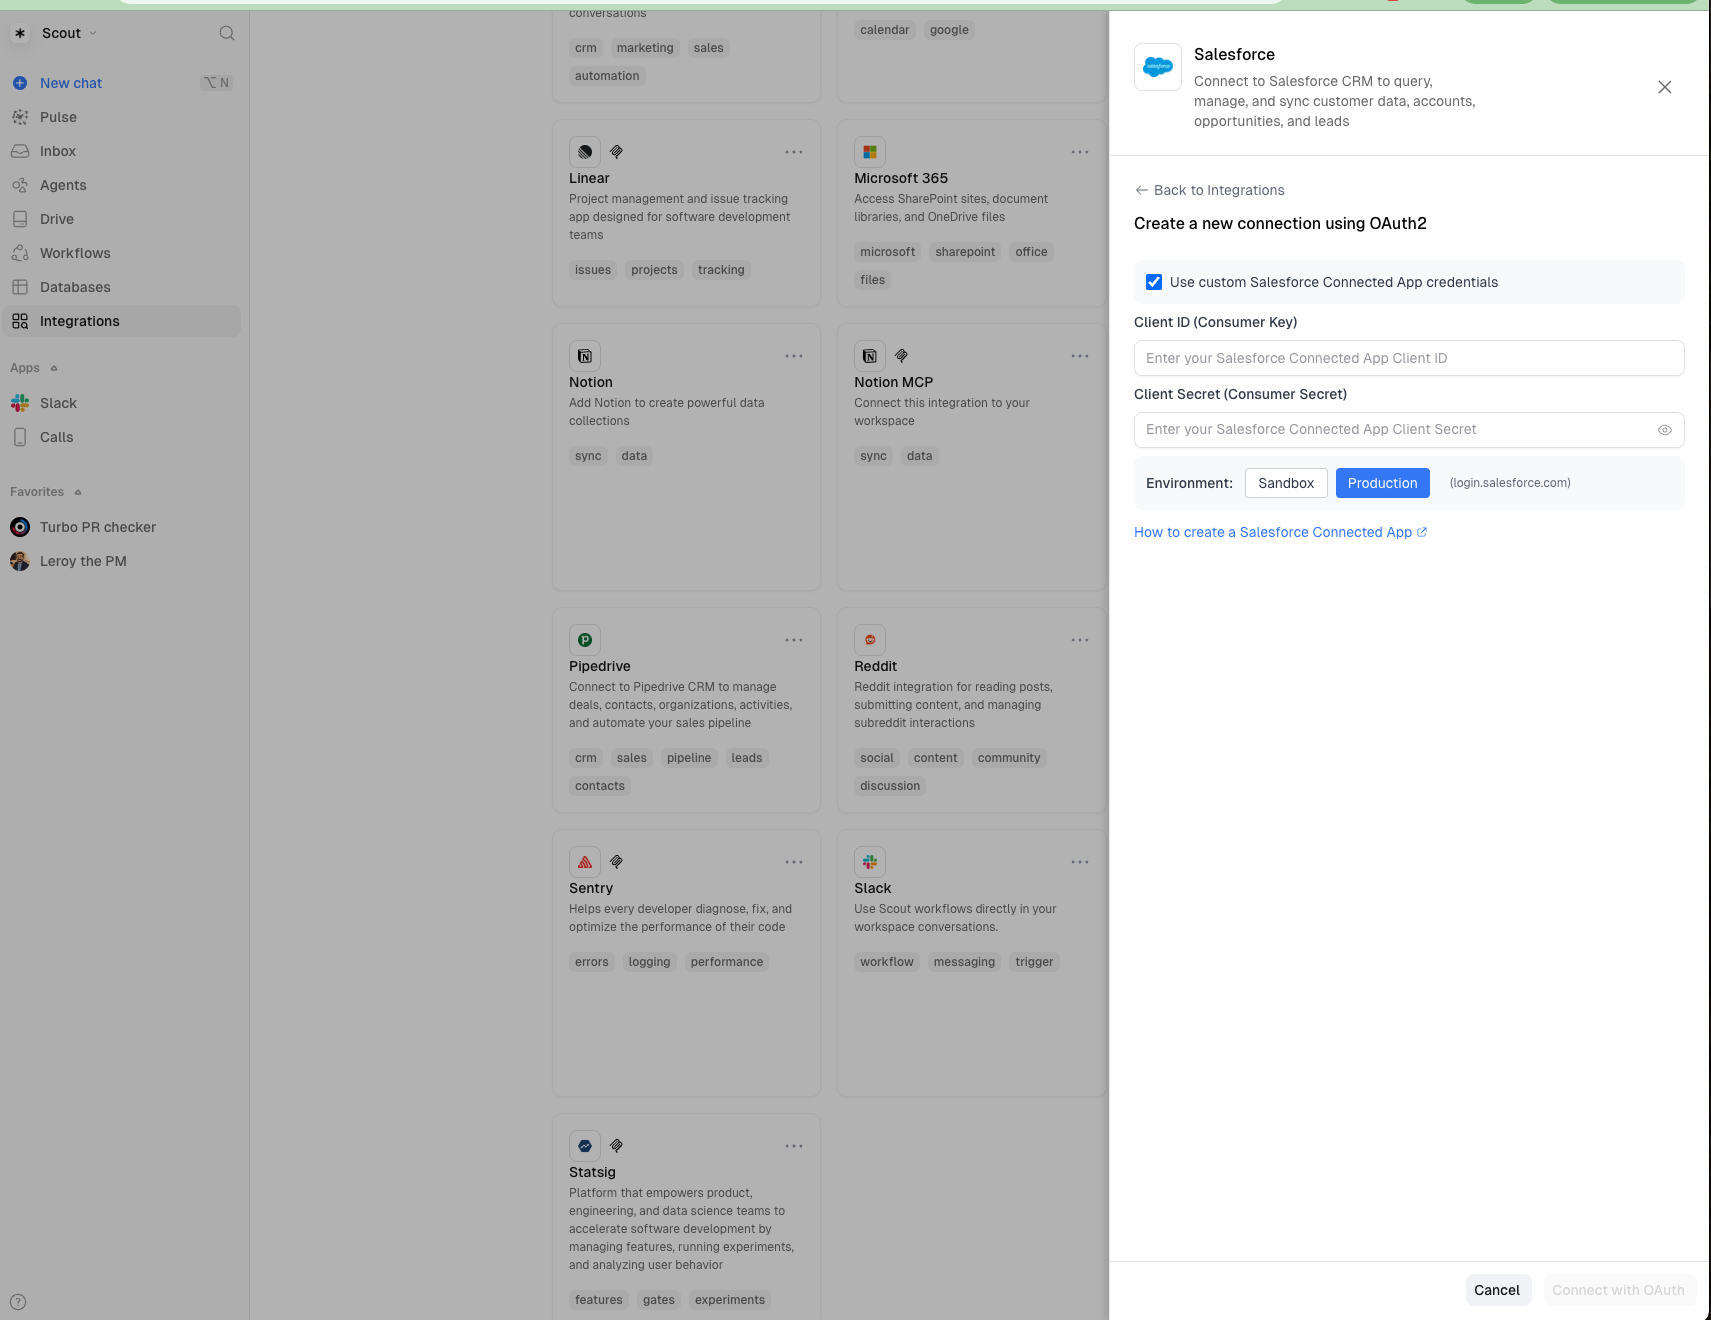
Connect to Scout
- Navigate to https://studio.scoutos.com/integrations
- Click the Salesforce card
- Click Add Workspace
- Check Use custom Salesforce Connected App credentials
- Select your environment (Production or Sandbox)
- Enter your Client ID (Consumer Key) and Client Secret (Consumer Secret)
- Click Connect with OAuth
Verify the Connection
Test your Salesforce integration with an AI agent:
For more information on agent tools, see AI Agents Documentation.
Available Capabilities
The Salesforce integration provides comprehensive CRM access:
Data Querying
- Execute custom SOQL queries
- SOSL search across multiple objects
- List available Salesforce objects
- Get object field metadata
Record Management
- Get specific records by ID
- Create new records in any object
- Update existing record fields
- Delete records from Salesforce
Advanced Operations
- Direct REST API calls to any endpoint
- Bulk operations for large data sets
- Relationship queries across objects
Use Cases
Customer Support Automation
- Look up customer information from Salesforce
- Retrieve order history and case details
- Update case status and add notes
- Create follow-up tasks automatically
Sales Intelligence
- Query pipeline data and forecasts
- Find and update opportunity information
- Search for contacts and accounts
- Track activity history
Data Analysis
- Custom SOQL queries for reporting
- Cross-object data analysis
- Field-level data validation
- Metadata exploration
Best Practices
Security
- Keep Consumer Key and Consumer Secret secure
- Use Sandbox for testing before Production
- Consider creating a dedicated Salesforce user profile with limited permissions for Scout
- Periodically rotate Connected App credentials
Configuration
- Use descriptive names for Connected Apps
- Consider IP restrictions in Salesforce for enhanced security
- Review session timeout settings to align with security requirements
Usage
- Monitor API limits to avoid throttling
- Use selective SOQL queries with WHERE clauses to minimize API usage
- Implement proper error handling in workflows and agents
Maintenance
- Periodically review active Connected Apps
- Update OAuth scopes as needs change
- Track integration usage in Salesforce Setup
Troubleshooting
”You don’t have permission to create Connected Apps”
Solution: You need specific Salesforce permissions to create Connected Apps:
- Contact your Salesforce administrator to request:
Customize ApplicationAND (Modify All DataORManage Connected Apps) - Alternative: Sign up for a free Salesforce Developer Edition where you have full admin access
- Check if “Allow creation of connected apps” is enabled: Setup → External Client Apps → External Client App Settings
”Invalid client credentials”
Solution: Verify you copied both Consumer Key (Client ID) and Consumer Secret (Client Secret) correctly from your Salesforce Connected App.
”Redirect URI mismatch”
Solution: Ensure the Callback URL in your Connected App is exactly: https://studio.scoutos.com/oauth/salesforce/success
”User hasn’t approved this app”
Solution:
- Sign in to Salesforce with an authorized user
- If using Sandbox, ensure you’re logging in to test.salesforce.com
- Check if the Connected App is approved for the user profile
”Authentication failure”
Solution:
- Verify you selected the correct environment (Production vs Sandbox)
- If using Sandbox, ensure the Connected App exists in your Sandbox instance
- Check that OAuth scopes include both
fullandrefresh_token
”Token expired”
Solution: The integration automatically refreshes tokens. If you still encounter errors:
- Navigate to Salesforce integration in Scout
- Click Reconnect on your workspace
- Re-authorize the connection
”Insufficient privileges”
Solution:
- Ensure the authorizing user has appropriate permissions
- Check object-level and field-level security in Salesforce
- Verify the user profile has API access enabled
”API limit exceeded”
Solution:
- Monitor API usage in Salesforce Setup → System Overview
- Implement query optimization to reduce API calls
- Consider upgrading Salesforce edition for higher limits
Sandbox Connection Issues
- Ensure your Sandbox is active and accessible
- Verify you’re using test.salesforce.com for login
- Check that the Connected App was created in the Sandbox instance
- Confirm your Sandbox hasn’t been recently refreshed (resets Connected Apps)
Advanced Configuration
Custom Permissions Profile
For enhanced security, create a dedicated Salesforce user profile for Scout:
- In Salesforce Setup, navigate to Profiles
- Clone an existing profile (e.g., “Standard User”)
- Name it “Scout Integration User”
- Configure permissions:
- Enable API access
- Grant read/write access only to required objects
- Remove unnecessary administrative permissions
- Create a dedicated user with this profile
- Use this user’s credentials when authorizing Scout
Multiple Environment Connections
You can connect both Production and Sandbox simultaneously:
- Create separate Connected Apps in each environment
- In Scout, add multiple Salesforce workspaces
- Select the appropriate environment for each connection
- Each workspace maintains its own independent connection
Monitoring and Logging
Monitor your integration usage:
- In Salesforce Setup, navigate to System Overview
- Check API Usage Last 7 Days to track consumption
- Review Connected App usage in Apps → Connected Apps
- Use Salesforce Event Monitoring (if available) for detailed audit logs
Managing Connected Apps
To update your Connected App:
- Navigate to Setup → App Manager
- Find your Connected App and click the dropdown → Edit
- You can update all settings except the API Name
Required permissions to update:
Customize ApplicationAND (Modify All DataORManage Connected Apps)- To update Profiles, Permission Sets, or SAML attributes, you also need:
Manage Profiles and Permission Sets
To rotate Consumer Key and Secret:
- You need the
Allow consumer key and secret rotationpermission - In the Connected App detail, click Manage Consumer Details
- Follow prompts to generate new credentials
- Update Scout with the new credentials before revoking old ones
To delete a Connected App:
- Remove all active connections first (disconnect from Scout)
- In Salesforce Setup → App Manager, find your app
- Click dropdown → Delete
- Confirm deletion
Deleting or rotating credentials will break the Scout integration immediately. Always update Scout with new credentials before removing old ones.
Installing Connected Apps
For packaged Connected Apps:
- Requires:
Download AppExchange PackagesANDCustomize ApplicationAND (Modify All DataORManage Connected Apps) - Scout uses a custom OAuth flow, not a packaged app, so this typically doesn’t apply
Next Steps
Now that you’ve connected Salesforce to Scout:
- Create Workflows: Build automated workflows that interact with Salesforce data
- Configure Agents: Enable AI agents to autonomously query and update Salesforce
- Set up Collections: Sync Salesforce data to Scout Collections for enhanced AI context
- Build Copilots: Create customer-facing copilots powered by your Salesforce data
Learn more:
External Resources: